
Project Photos – Home of Tirado Family (House #3)
Dedication Day and the Turning Over the Keys (3/30/15)
-

- The Completed House

-

- Completed house close-up

-

- Living Room

-

- Wow, what a kitchen

-

- Hallway with daylight at the end

-

- Hall bathroom

-

- Master Bath

-

- Owner and 2 boys cutting the ribbon

Install Day 12/16/14
-

- Foundation is ready

-

- Set up & ready for assembly

-

- First module approaching the site

-

- First module up, up, and away

-

- 2nd module in the air

-

- 1st module approaches foundation

-

- 1st module about to be set

-

- 1st module set

-

- 2nd module in for a landing

-

- 2nd module set

-

- 3rd module being lowered

-

- Aerial of last module being lowered

-

- Last house module being set

-

- Modules and foundation perfectly square

-

- Gap between modules exactly to the design specs

-

- Interior as a house for first time

-

- 1st roof section in the air

-

- 2nd roof section

-

- 2 roof sections set

-

- Front aerial of assembled house

-

- Components assembly complete

-

- Next to last roof section

-

- Attic formed by assembled roof sections

Load Day 12/15/14
-

- Lifting roof sections onto trailers

-

- Roof section onto trailer

-

- Roof sections on trailer

-

- Extrusion of a house module from the shop

-

- Here it comes

-

- Some more

-

- Out and ready to be lifted

-

- Loaded onto trailer

Ready to ship; On 12/15/14, 7 tractor-trailers will be loaded at the school with the 4 house modules and 6 roof sections. On 12/16/14, all will be methodically flown through the air by crane and assembled into a completed house
Modules completed & ready for shipping (11/25/14)
-

- Finished and ready to roll

-

- Awaiting the shipping process

Drywall installation & finishing (11/18/14)
-

- Drywall finishing in progress

-

- Drywall finishing in progress

-

- Drywall finishing in progress

-

- Drywall finishing in progress

-

- Drywall finishing completed this room

-

- Drywall finish around window

-

- Water resistant drywall finish

Site prep for foundation (by Habitat 11/12/14)

-

- Close-up of lot building area

-

- Lot looking back to front

Inspections passed; Insulation started (10/10/14)
-

- 1

-

- 2

Electrical & plumbing rough completed; windows & building wrap done (10/10/14)

-

- 2

-

- 3

-

- 4 – washer box & piping

-

- 5

-

- 6

-

- 7 – tub in place

-

- 8 – bathroom plumbing


-

- 11 – ceiling plumbing & wiring

-

- 12 – coils of wire to make circuit connections after modules’ assembly

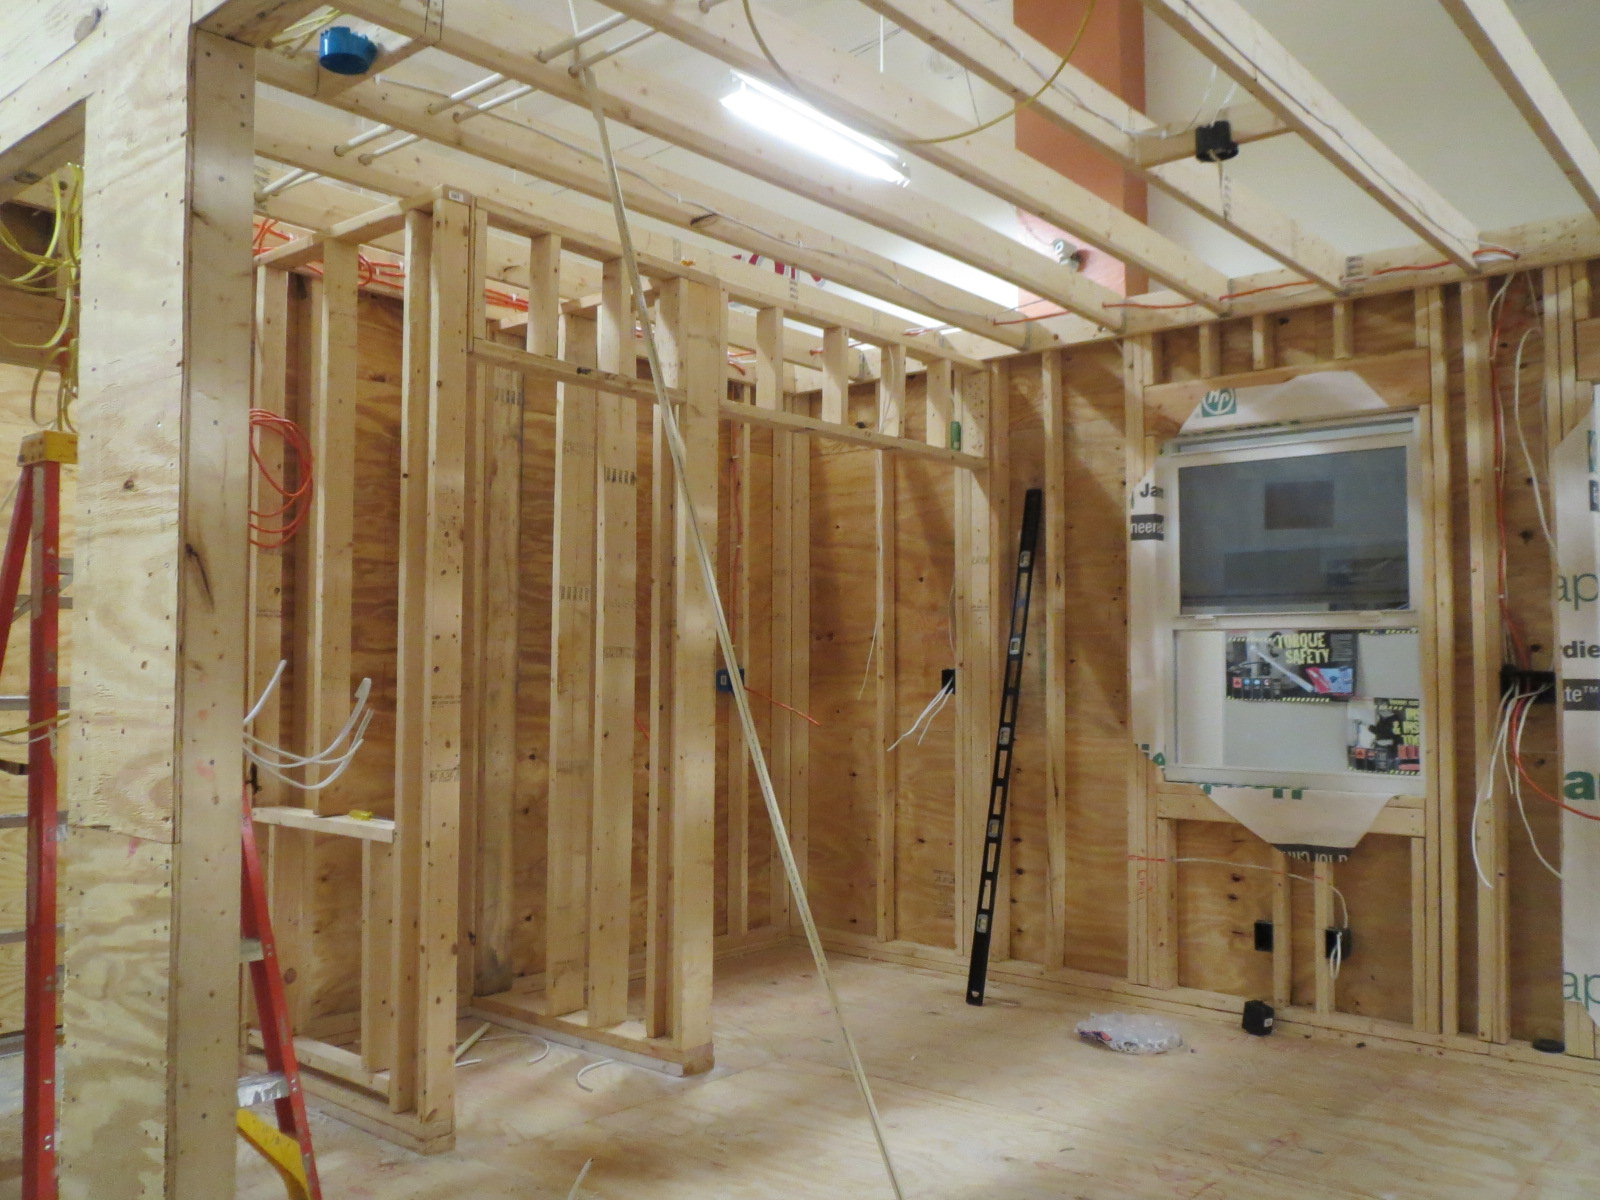
Electrical rough-in underway; windows installed (9/14/14)
-

- Boxes installed; some wire pulled

-

- Kitchen electrical rough


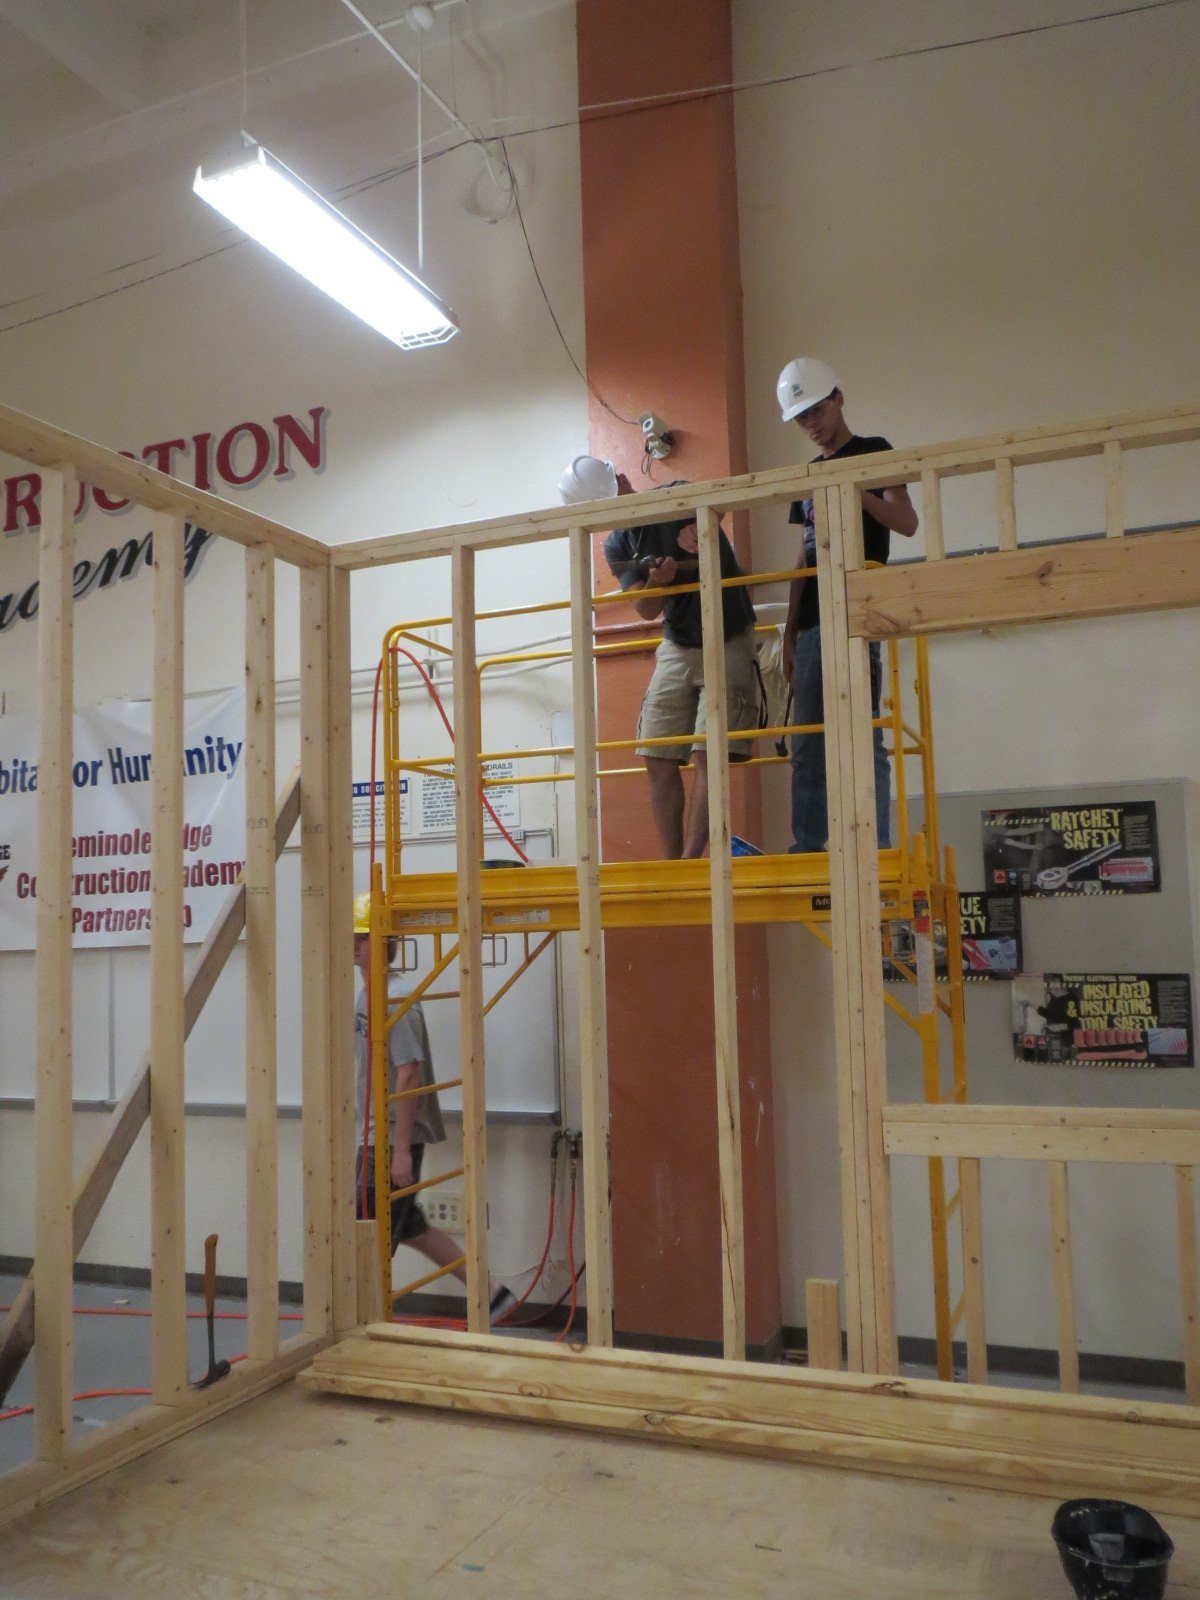
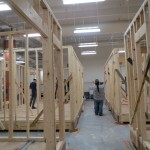
Walls all framed and sheathed (5/21/14)


Exterior walls being framed (4/23/14)
-

- Walls framing 1
-

- Walls framing 2

-
- Walls framing 3

-

- Walls framing 4

-

- Walls framing 5

-

- Teaching & learning about plumb

-

- Walls framing 6

-

- Walls framing 8

-

- Exterior walls framed

Owner meets the students (4/22/14)
-

- Owner meets a class

-

- Owner meets another class

-

- Proud owner seeing her house built

-

- Owner and teacher, Mr. Terkovich

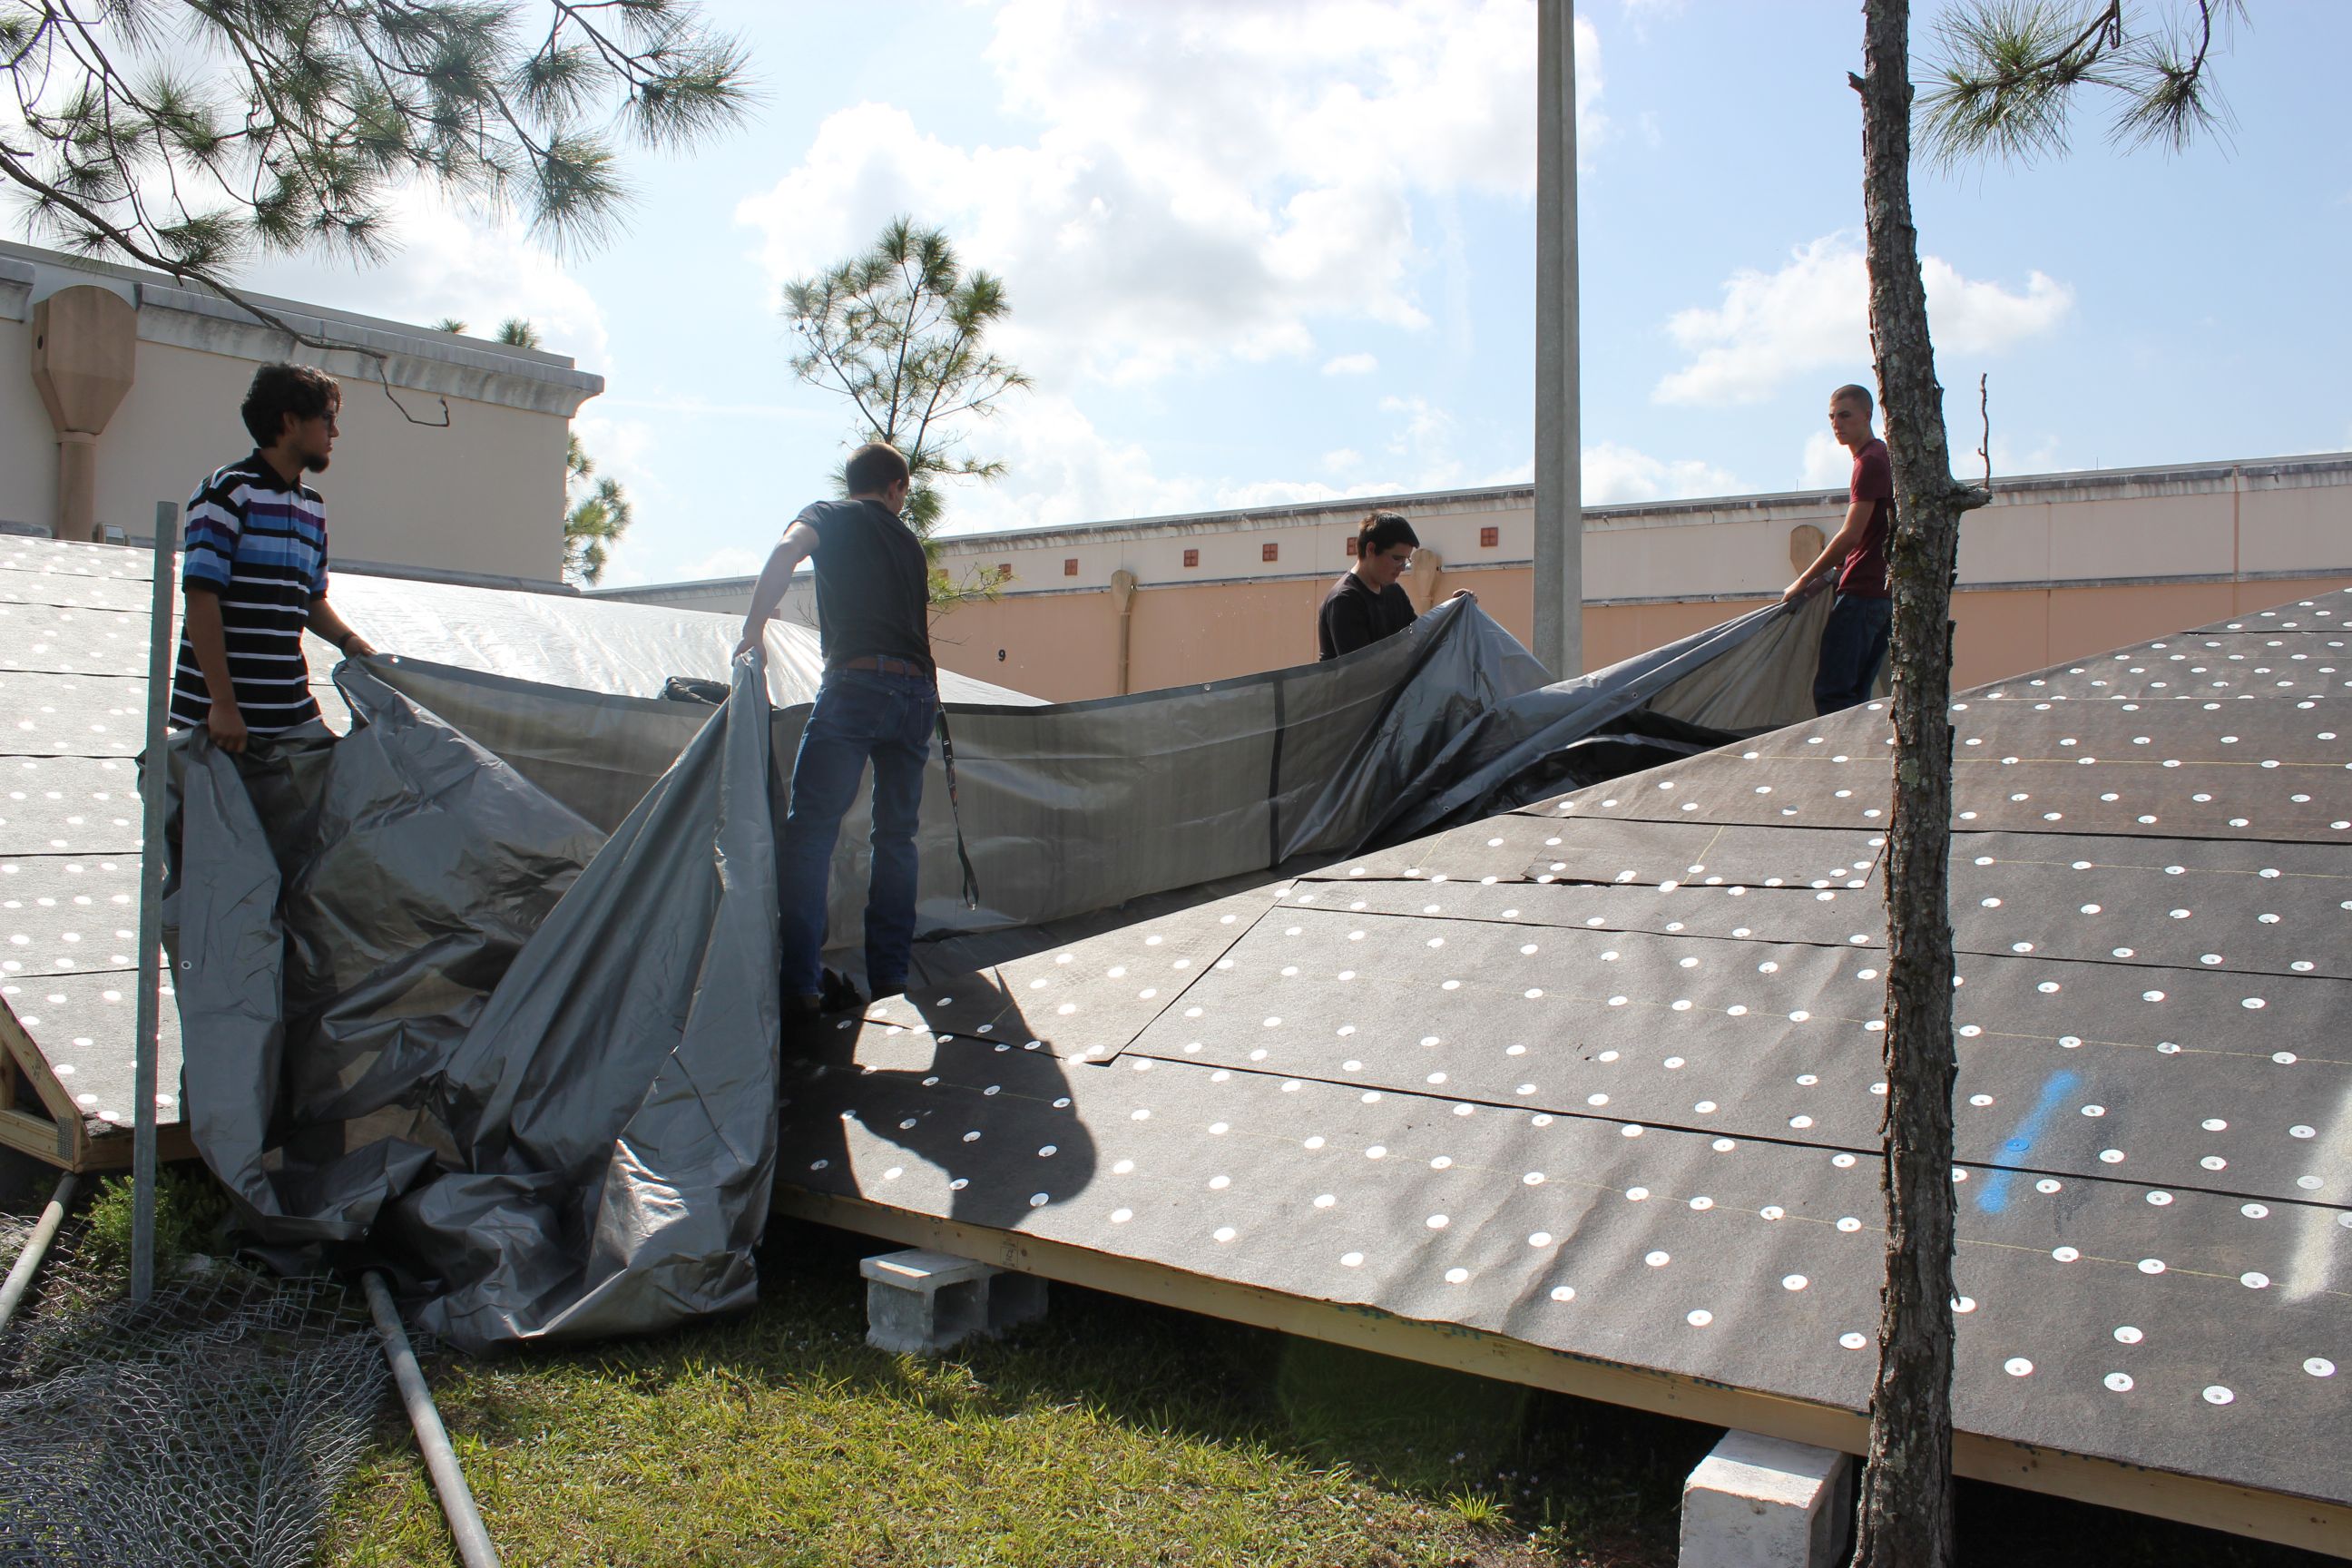
Roof sections dried-in (3/28/14)
-

- Felt paper tin tagged to sheathing

-

- Student builder installing tin tags

-

- Dried-in roof section being stored

-

- Student builders securing & covering roof sections

-

- Covering stored roof sections
-

- Stored roof section

Roof sheathing installed (3/14/14)
-

- Roof sheathing 1

-

- Roof sheathing 2

-

- Roof sheathing 3

-

- Sheathing overhang on purpose

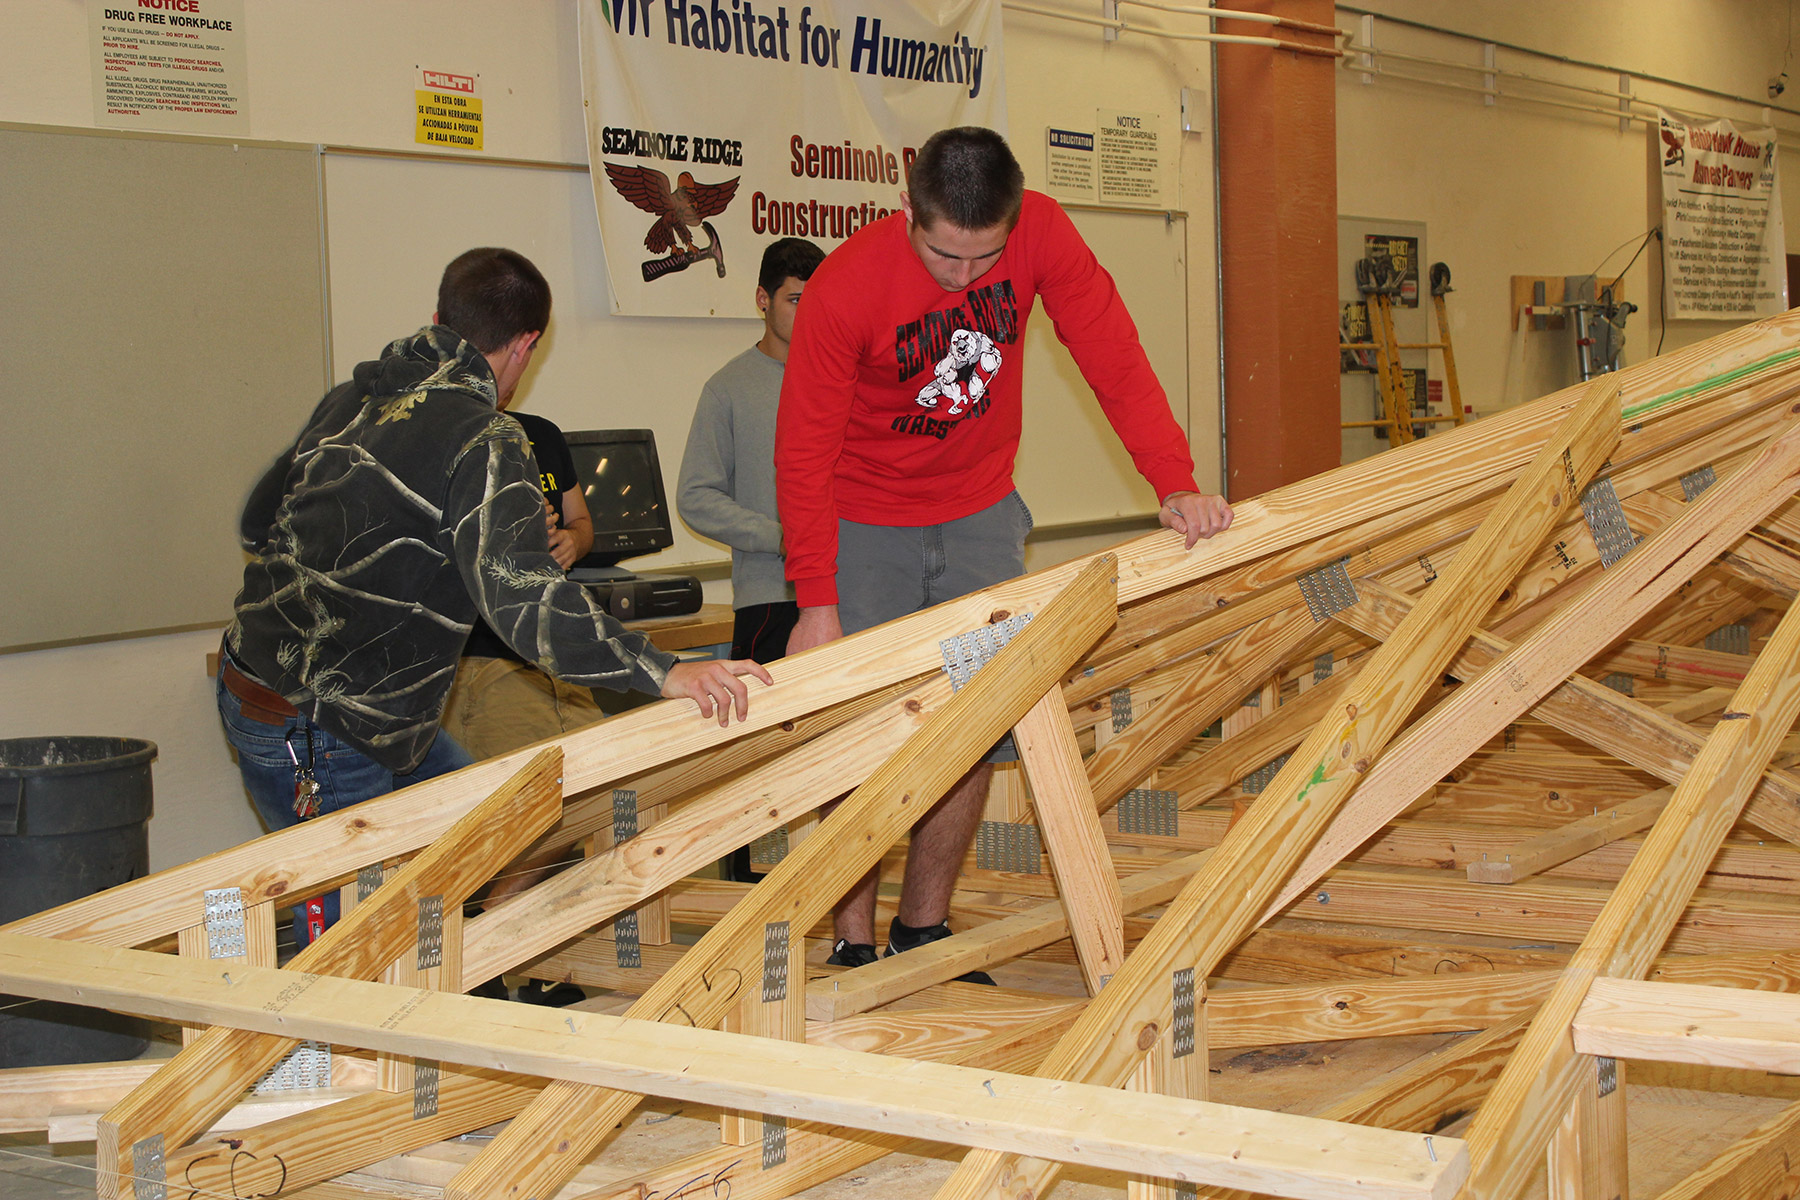
Roof trusses assembly (monolithic assembly in sections) 2/24/14
-

- Truss layout begins

-

- 2

-

- 3

-

- Student builders in action
-

- Mr. Terkovich in a teachable moment

-

- Deep in the trusses

-

- All trusses assembled

-

- .

-

- 9

-

- 10

-

- 11

-

- Through the attic storage space

House #3 begins – Floor system assembly (1/27/14 & 2/6/14)
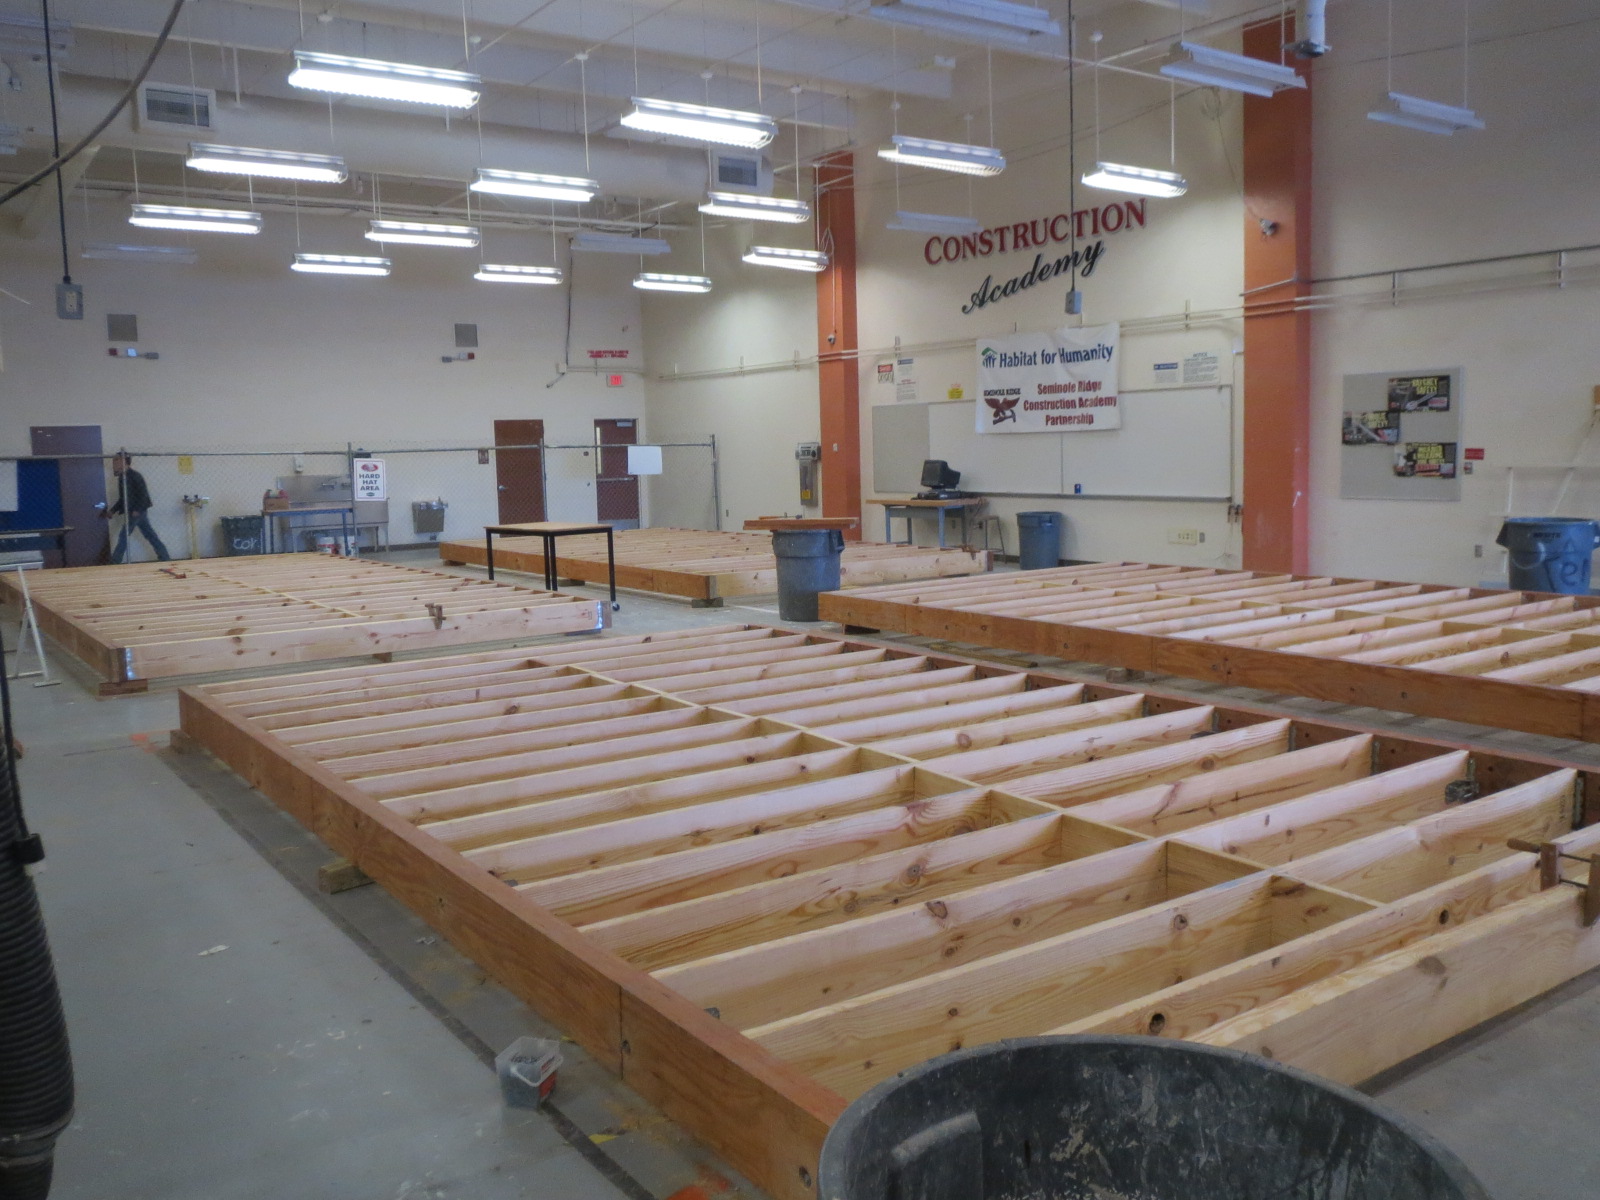
-

- Floor joists

-

- Floor joists

-

- Floor joists

-

- Floor sheathing installation

-

- Floor sheathing installation

-

- Screwing down the floor sheathing
